
At Guelph Concrete LTD, we’ve been proudly serving the Guelph, Ontario community for over 15 years. If you’re considering installing interlocking brick, let our experienced team guide you through the process.
First, we will inspect your driveway for any cracks and confirm that the weather is mild enough for optimal working conditions. We recommend choosing durable and weather-resistant materials, such as Unilock or Techo-Bloc, to ensure longevity and aesthetic appeal.
Next, our team will set precise grade lines using strings or laser levels to ensure accuracy. We then level the surface with a plate compactor, making sure proper drainage is accounted for. As we lay the bricks according to your design, we maintain consistent gaps for a polished look.
To secure the structure, we install edging and fill the joints with polymeric sand, which we then activate with water. Finally, we compact the surface and apply a sealant for added protection.
By following these meticulous steps, Guelph Concrete LTD ensures you receive a stunning and long-lasting interlocking brick pathway.
Ready to transform your driveway or pathway? Contact Guelph Concrete LTD for a free estimate today at 548-490-2074.
Let’s create something beautiful together!
Pre-Trip Inspection
Before we start on the journey of installing interlocking bricks in Guelph, let’s make sure we carry out a thorough pre-trip examination to set the stage for a successful project.
First, we need to give our driveway a detailed inspection. By doing this, we can identify any specific requirements or potential challenges that might arise. Are there any cracks, uneven surfaces, or existing structures we need to work around? Knowing this beforehand helps us plan more effectively.
Next, let’s shift our focus to temperature considerations. Guelph’s weather can be unpredictable, especially after a cold spell. We need to confirm the temperature is suitable for working with interlocking bricks. Ideally, we’re looking for milder conditions that won’t compromise the integrity of the materials. Cold weather can affect how well the bricks and stone dust bond, so it’s important to pick a time when the temperature is just right.
Choosing Materials

When selecting materials for our interlocking brick project, we’ll need to focus on durability, design flexibility, and weather resistance to guarantee long-lasting and visually appealing results. This means choosing the right kind of interlocking stones, which often includes concrete or cement options. These materials not only offer superior durability benefits but also provide a wide range of customization possibilities.
Material selection is essential, and we should consider brands like Unilock, Techo-Bloc, and Permacon, which are known for their quality and innovation in Guelph. These brands offer a vast array of styles, shapes, sizes, and color options, allowing us to find the perfect match for our design vision. Whether we’re seeking earthy tones or vibrant hues, there’s something available to suit every taste.
Design flexibility is another key advantage of using interlocking stones. Unlike natural stone, these manufactured options can be customized to fit intricate patterns and layouts. Plus, they require minimal maintenance and can withstand extreme weather conditions, making them a practical choice for our region.
Setting Grade Lines
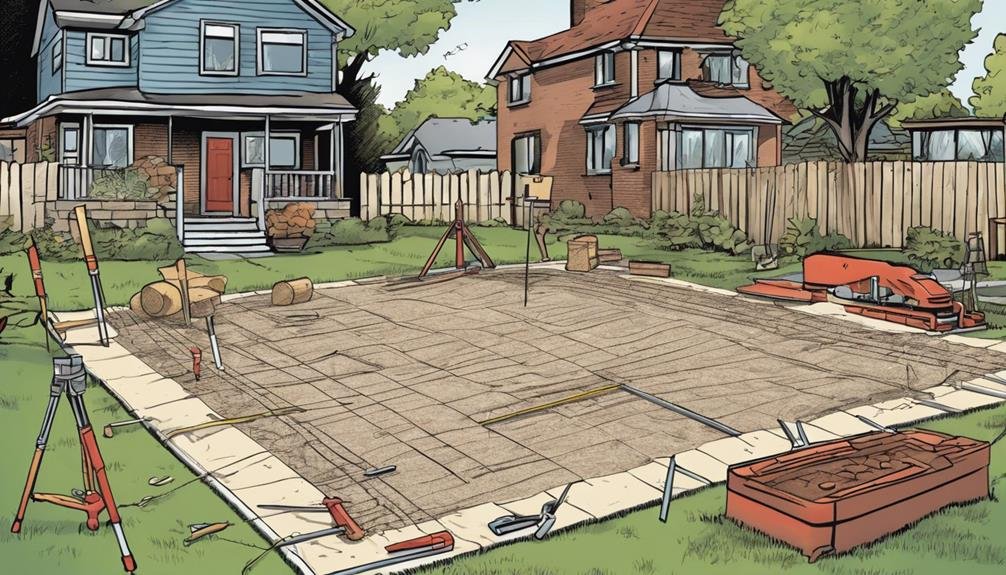
To guarantee our interlocking brick project in Guelph is both level and visually appealing, we’ll start by setting grade lines with strings across the driveway for precise guidance. The strings will act as our roadmap, ensuring we maintain the right elevation and angles throughout the installation process.
One of the key grade line benefits is that it helps us avoid any dips or uneven sections, providing a smooth and professional finish.
We’ll use stakes and string to outline the project area, adjusting the height of the strings to match the desired slope or level of our interlocking bricks. This method is straightforward and highly effective, making it a popular choice among both DIY enthusiasts and professionals.
While setting grade lines with strings is standard, there are grade line alternatives available. For instance, laser levels can offer even more precision, especially for larger projects. However, they require more advanced equipment and expertise.
Another alternative could be using a water level, which is a simple yet effective tool for smaller areas.
Leveling the Surface

With our grade lines in place, we can now focus on leveling the surface to guarantee a stable and durable foundation for our interlocking bricks. Surface preparation is essential; it secures our efforts lead to a long-lasting and visually appealing installation.
First, we need to use a plate compactor to compact the base material thoroughly. Proper compaction is vital for stability, preventing our interlocking bricks from shifting over time.
As we compact the surface, we should continuously check for any low or high spots. Adjusting these areas ensures a uniformly leveled base, which is crucial for the overall integrity of our project. Consistency here means our bricks will lay evenly and seamlessly.
Moreover, let’s not forget about proper drainage. A correctly graded surface ensures water flows away efficiently, preventing pooling and potential damage. By focusing on these details, we’re not only enhancing the durability of our installation but also its aesthetic appeal.
Maintaining accuracy while leveling the surface will help us achieve a structure that stands the test of time. With a stable, well-prepared base, we’re now ready to move forward, confident in the strength and beauty of our interlocking bricks.
Laying the Bricks
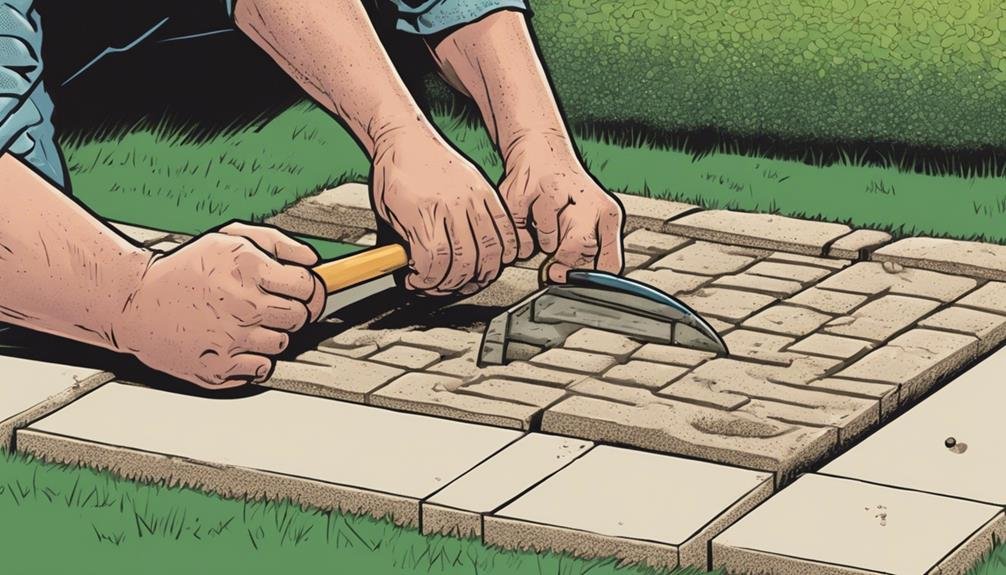
Now that our surface is perfectly leveled, we can start carefully laying the interlocking bricks to bring our design to life. First, we set our grade lines with strings along the driveway to maintain proper alignment. This step is crucial to avoid cutting corners and guarantees our bricks follow the intended path.
This secures a smooth, even base for our bricks. As we lay each brick, it’s vital to follow our predetermined design, placing each piece with care and precision.
Next, we begin the screeding action, which involves using a long, straight edge to level the surface further.
Spacing concerns are of utmost importance, so we need to maintain consistent gaps between the bricks. This uniformity not only enhances the visual appeal but also secures structural integrity.
When we come across areas that don’t quite fit, we’ll cut the bricks to size for a perfect fit, ensuring no gaps or misalignments.
Throughout this process, attention to detail is crucial. By carefully placing each brick and addressing any spacing concerns, we create a cohesive and durable surface. This meticulous approach guarantees our interlocking brick pathway will be both beautiful and long-lasting.
Adding Edging and Sand
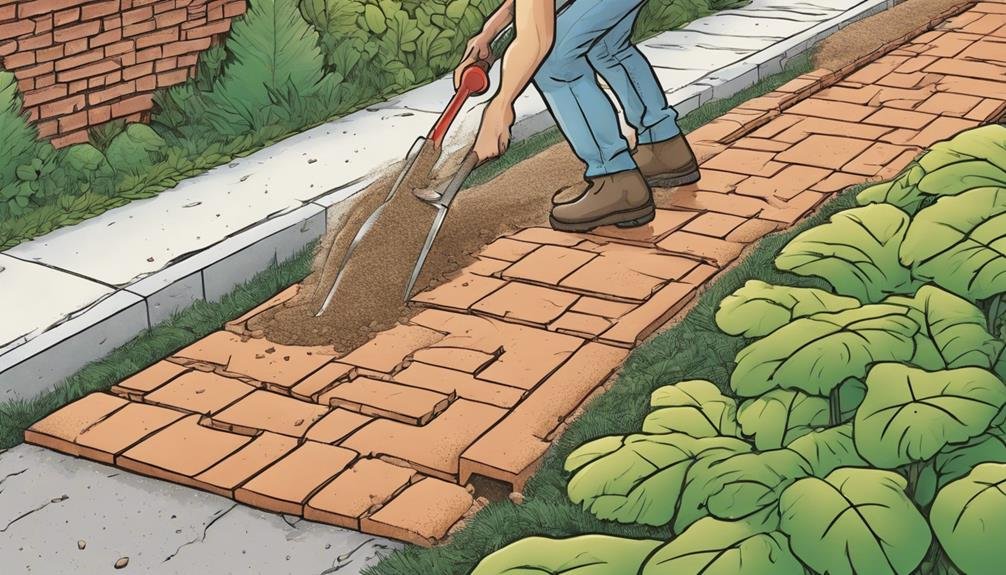
Let’s start by installing the edging, which is important for maintaining the structure and integrity of our interlocking brick pathway. Effective edging techniques make sure that our bricks stay in place and resist shifting over time. We can use plastic, metal, or concrete edging, depending on our aesthetic preference and budget. Secure the edging firmly by driving spikes or stakes into the ground, ensuring it hugs the outer perimeter of our pathway tightly.
Next, we move on to the sand application. Polymeric sand is our best choice for filling the joints between the bricks. It not only stabilizes the entire installation but also plays a vital role in joint maintenance and weed prevention.
We’ll spread the sand evenly across the surface, sweeping it into the gaps between the bricks.
Once the joints are filled, we’ll activate the polymeric sand by lightly misting it with water. This process helps the sand harden, forming a durable bond that keeps our bricks in place and minimizes weed growth.
Compacting and Finishing
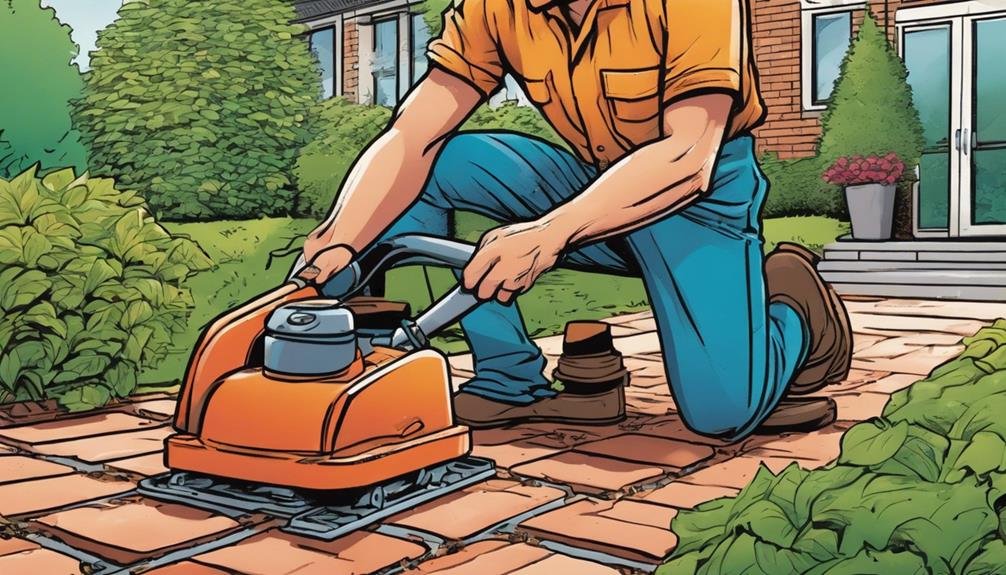
Ensuring the stability and longevity of our interlocking brick pathway, we use a plate compactor to flatten and secure the surface. This step is important as it guarantees proper interlock and resistance to water penetration, which is necessary for enduring Guelph’s diverse weather conditions.
We start by running the plate compactor over the bricks, making sure to cover the entire area evenly. This compacting technique not only flattens the surface but also tightens the bricks together, enhancing their durability.
After compacting, we sweep polymeric sand into the joints between the bricks. This sand hardens like cement when wet, further strengthening the interlock and preventing weed growth.
For the finishing touches, edging is added to give the pathway a polished look and maintain the structural integrity of the bricks. It keeps the bricks in place and prevents shifting over time.
To add an extra layer of protection, we consider various sealing options. A good sealant can protect the bricks from stains, weather damage, and wear, making sure that our pathway remains beautiful and functional for years to come.
Frequently Asked Questions
How Do I Install Interlocking Bricks?
Let’s start by preparing a proper base with gravel and ensuring it’s compacted well. Next, install edge restraints, then lay the bricks in interlock patterns. Finally, use polymeric sand to secure the joints and compact.
How Long Does It Take to Install Interlocking Pavers?
We’ve found that installing interlocking pavers usually takes 3-7 days. Timeframe estimation depends on project size, weather impacts, and more. For cost breakdowns and maintenance tips, proper planning guarantees a durable, long-lasting outdoor space.
How to Install an Interlock Walkway?
Let’s start by choosing interlock patterns and contacting interlock suppliers. We’ll prepare the base, lay bricks, and secure them with polymeric sand. Interlock maintenance is key, and while interlock cost varies, it’s an investment in beauty and durability.
What Do You Put Under an Interlocking Brick?
Laying interlocking bricks is like building a sturdy house. We start with base preparation and drainage considerations. Then, we use geotextile fabric and make sure gravel base requirements are met for a durable, weed-free foundation.
Conclusion
At Guelph Concrete LTD, we’ve laid the final brick and sprinkled the last grains of sand. Like crafting a puzzle, each piece now fits perfectly, creating a lasting masterpiece in a Guelph backyard.
We’ve measured, leveled, and compacted our way to a stunning patio. It wasn’t just about the bricks; it was about building a space where memories will be made. As we step back, it’s clear: our hard work has paid off, and the result is nothing short of spectacular.
With over 15 years of experience, Guelph Concrete LTD takes pride in transforming outdoor spaces into beautiful and functional areas. If you’re ready to enhance your own backyard, contact us today for a free estimate. Call us at 548-490-2074 and let’s start building your dream space.