When fixing interlocking brick in Guelph, Ontario, Guelph Concrete LTD starts by evaluating the damage for sunken, cracked, or loose pavers.
First, we gather tools like a rubber mallet, sand, and replacement bricks.
Carefully, we remove the damaged bricks and inspect the base.
We prepare the base with geotextile fabric, gravel, and sand, ensuring it’s compacted well.
We level the area, install new bricks, and compact the surface for stability.
Finally, we fill joints with polymeric sand and seal the bricks to protect them.
Regular maintenance, like sweeping and checking for loose bricks, helps keep everything looking great.
For a detailed consultation and professional repair of your interlocking bricks, contact Guelph Concrete LTD. With over 15 years of experience in the business, we guarantee top-notch service.
Call us today for a free estimate at 548-490-2074.
Assess the Damage
How can we effectively assess the extent of damage to our interlocking bricks in Guelph?
First, let’s take a close look at the surface. We should evaluate any visible damage, such as sunken or uneven pavers, cracks, or loose stones. These signs can indicate that our interlocking bricks need immediate attention.
Next, we need to dig a little deeper—literally. Identifying underlying issues like poor base preparation or drainage problems is critical. These factors often cause the bricks to shift or settle over time. By understanding what’s going on beneath the surface, we can determine if individual pavers need replacement or if the entire area requires re-leveling and reinstallation.
While we might feel confident in our assessment, seeking professional consultation can make a world of difference. A professional interlocking brick expert in Guelph can accurately evaluate the damage and recommend the most efficient repair strategies. Their expertise ensures that we’re not just fixing the symptoms but addressing the root causes of the damage.
Gather Required Tools

Before we start fixing our interlocking bricks, let’s gather the necessary tools to make sure the process is smooth and efficient. Having the right tools will not only boost our repair efficiency but also make the whole experience more enjoyable. Here are the basics we need:
- Rubber Mallet: This tool is vital for gently adjusting and setting the interlocking bricks in place without causing damage.
- Broom: A broom will help us tidy up the area before we begin and during the cleanup process after repair completion.
- Sand: Essential for filling gaps between the bricks, ensuring stability and cohesion.
- Replacement Pavers: We’ll need these to swap out any damaged bricks.
Organizing these tools beforehand will save us time and prevent unnecessary interruptions during the repair. Let’s make a quick checklist to make sure we’ve got everything:
| Tool | Purpose | Importance |
|---|---|---|
| Rubber Mallet | Adjusting and setting bricks | Vital |
| Broom | Cleaning area before and after repair | Essential |
| Sand | Filling gaps for stability and cohesion | Important |
| Replacement Pavers | Swapping out damaged bricks | Necessary |
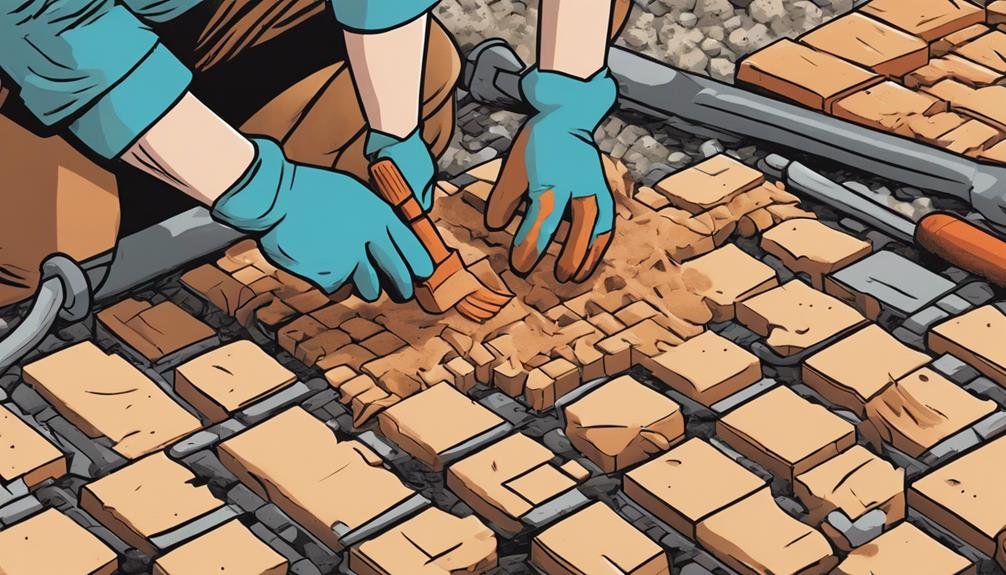
Remove Damaged Bricks

Let’s start by pinpointing and carefully extracting the damaged bricks using a chisel and hammer, making sure we don’t disturb the surrounding pavers. First, we need to locate the damaged bricks.
Once identified, we can use the chisel and hammer to gently tap around the edges, loosening them without displacing the neighboring pavers. This method is one of the vital brick removal techniques we’ll employ to maintain the integrity of the overall pattern.
When the brick is sufficiently loosened, we’ll lift it out, examining it closely. Sometimes, partially damaged bricks can be salvaged for other projects or repairs. If they’re beyond saving, we must use proper disposal methods to make sure we’re environmentally responsible.
Next, we should inspect the base and surrounding area for any debris or unevenness that might’ve caused the damage initially. This step is important for our replacement considerations, as it ensures the new brick will fit snugly and be less prone to future issues.
We’ll clean the area thoroughly, removing any dirt or remnants that could interfere with the new brick’s placement. By following these detailed steps, we’re guaranteeing a smooth shift to the next phase of our project.
Prepare the Base
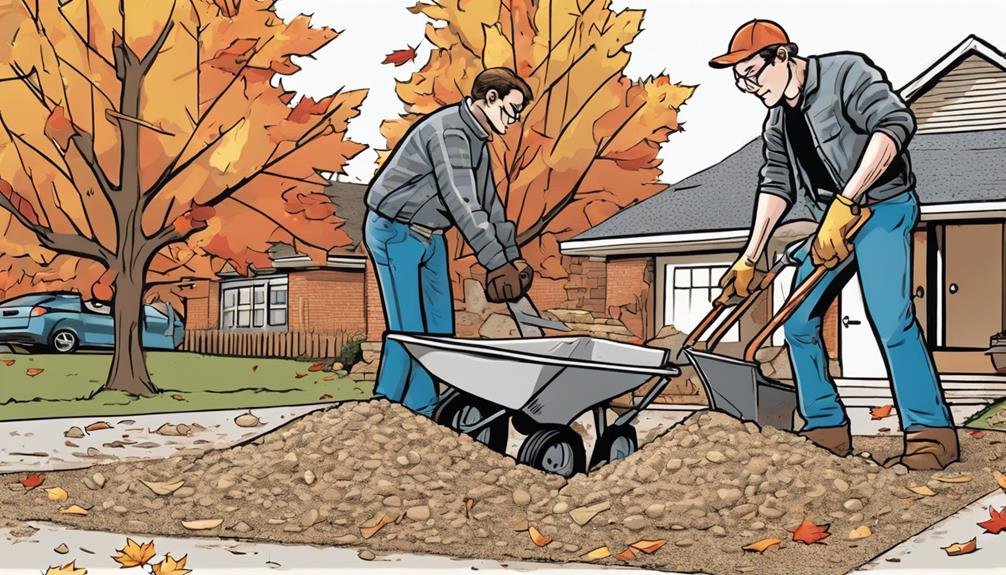
To ensure our interlocking brick project has a solid foundation, we need to meticulously prepare the base by excavating to an appropriate depth and compacting the soil thoroughly. This step guarantees the long-term durability and stability of our project, making it essential to get it right.
First, we’ll need to excavate the area to a depth of 8-12 inches. This excavation depth is necessary for creating a stable base that can support the weight of the bricks and any traffic over them.
Next, we’ll lay down a geotextile fabric. This fabric helps prevent weed growth and promotes proper drainage, guaranteeing the bricks remain stable over time.
Excavate to a depth of 8-12 inches: This depth is essential for stability.
Use a compacting machine: Achieve a solid, level base.
Lay down geotextile fabric: Prevent weed growth and promote drainage.
After laying the geotextile fabric, we’ll add a layer of gravel followed by sand. The gravel provides additional stability, while the sand creates a smooth, firm surface. We need to guarantee the sand layer is properly compacted using a compacting machine. This step is crucial for creating a firm base where the interlocking bricks can be securely placed.
Level the Area

Verifying that the area is perfectly level will provide a solid foundation for our interlocking brick project, preventing future uneven settling and enhancing the overall durability. First, we need to use a level to check the ground. This step is crucial because a flat surface will make the installation process smoother and guarantee a professional-looking finish.
We should start by examining the area for any dips or bumps. Let’s use a shovel and rake to address these imperfections. Once we’ve evened out the surface, we must focus on soil compaction. This involves tamping down the soil to create a firm base. A compacted soil base is less likely to shift or settle unevenly over time, which is essential for the stability and longevity of our interlocking brick structure.
Next, let’s consider drainage solutions. Poor drainage can lead to water pooling under the bricks, causing them to shift. We can incorporate slight slopes or use drainage pipes to guide water away from the area. By securing proper drainage, we’ll protect our foundation from water damage and prolong the life of the installation.
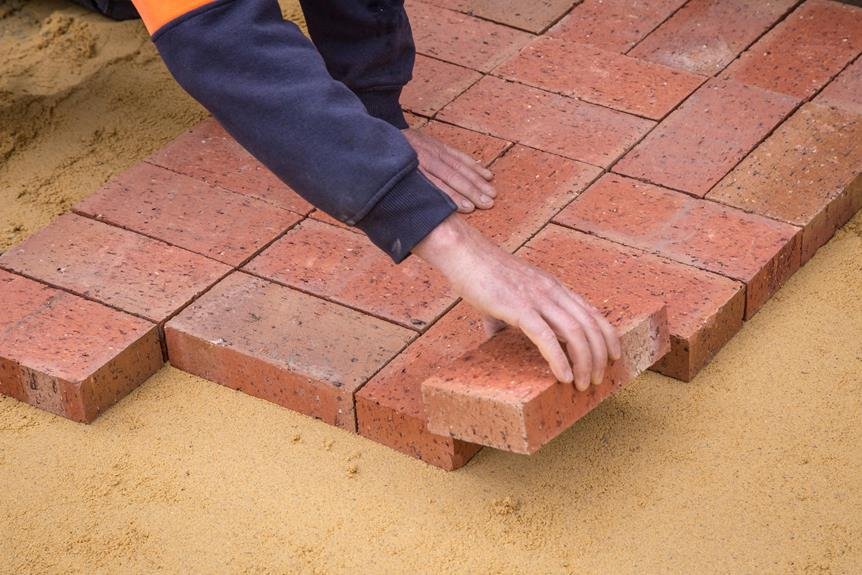
Install New Bricks
We now begin the installation by carefully placing the new interlocking bricks according to the pre-determined pattern and layout. This part of the process is important for achieving a professional and long-lasting finish.
First, let’s make sure our brick selection is excellent. We recommend sourcing from reputable suppliers like Unilock, Techo-Bloc, or Permacon for quality assurance. Their products offer a range of textures and colors, allowing us to achieve a cohesive and visually appealing design.
- Pattern Consistency: Align each brick meticulously, maintaining the pre-determined pattern.
- Installation Techniques: Follow the manufacturer’s guidelines to guarantee proper placement and stability.
- Longevity Considerations: Use jointing sand between bricks to secure them and prevent shifting.
As we lay each brick, we need to keep an eye on the alignment and ensure they’re snugly placed. This attention to detail is essential for both aesthetics and structural integrity. Don’t rush this step; it’s the foundation of our project’s success.
Compact the Surface

Having meticulously laid the new interlocking bricks, let’s now focus on compacting the surface to guarantee a stable and long-lasting foundation.
The first step in our surface preparation involves using a plate compactor. This necessary tool will help us achieve proper compaction and create a rock-solid base for our bricks.
We’ll start by running the plate compactor over the entire surface. It’s vital to make multiple passes to confirm every inch of the area is uniformly compacted. By doing this, we’ll eliminate air gaps and provide uniform support, which is crucial for a stable foundation.
A well-compacted surface is the backbone of our project, reducing the risk of the bricks settling or sinking over time.
The importance of proper compaction can’t be emphasized enough. Without it, our hard work could be undone by shifting bricks and uneven surfaces. Confirming that the base material is thoroughly compacted will promote the longevity and durability of our interlocking brick installation.
Fill Joints With Sand

Filling the joints between our interlocking bricks with polymeric sand is the next important step to guarantee stability and prevent weed growth. We need to choose the right sand color options to match our bricks and enhance the overall look.
Once we’ve selected the sand, we’ll spread it evenly across the surface, making sure it fills every joint. Using a broom or vibrating plate, we’ll compact the sand into the joints to secure a tight fit. This step is essential for joint stabilization techniques, ensuring that the bricks stay in place over time.
After compacting, we’ll sweep off any excess sand from the surface. To activate the binding properties of the polymeric sand, we’ll lightly mist the area with water.
Here are a few key points to remember:
- Weather impact: Make sure to check the weather forecast; rain can wash away the sand before it sets.
- Drainage considerations: Proper drainage prevents water buildup which can weaken the joints.
- Maintenance: Regularly inspect and refill any joints that may have settled or eroded to uphold our brickwork’s integrity.
Seal the Interlocking
Sealing the interlocking bricks is necessary to protect them against stains, mold, and the harsh effects of UV rays. By choosing the right sealing techniques and best products, we can safeguard our beautiful outdoor spaces in Guelph for years to come.
First, let’s clean the bricks thoroughly to remove any dirt, debris, or existing stains. We should use a power washer to guarantee a deep clean, but be careful not to damage the surfaces. Once the bricks are dry, we can proceed with the sealing process.
When it comes to sealing techniques, we’ve got a few options. Roller applications work well for large areas, while a brush can be handy for tighter spots. Sprayers offer even coverage but require more precision. The key is to make sure every brick and joint is evenly coated.
Selecting the best products is vital. High-quality sealers not only enhance the color of our bricks, giving them a vibrant look, but they also provide superior protection. Look for sealers that offer UV resistance, water repellency, and mold inhibition. Brands like Techniseal and Alliance are well-regarded in the market.
Regular Maintenance Tips

After sealing the interlocking bricks for best protection, we must commit to regular maintenance to preserve their beauty and functionality. Regular maintenance is important not just for aesthetics but also for guaranteeing the longevity of our interlocking brick surfaces.
First, we should make it a habit to sweep the bricks regularly. This simple cleaning technique helps prevent debris accumulation, which can cause staining and erosion over time.
For tougher stains and dirt, using a pressure washer is highly effective. This method ensures that even the most stubborn grime is removed, keeping our bricks looking immaculate.
Next, we need to be vigilant about preventive measures. This includes checking for any loose or sunken bricks and replacing them promptly. This DIY repair task is essential for maintaining the integrity of the interlocking pattern.
Additionally, weather protection is a key aspect of our routine. Inspecting the joints between bricks for erosion or weed growth and addressing these issues promptly can prevent more significant damage down the line.
Frequently Asked Questions
How to Fix Sinking Interlock?
To fix sinking interlock, let’s lift and level the pavers, address the base, and improve drainage. Preventing sinking and repairing cracks guarantees our interlock lasts longer, giving us a beautiful, durable surface we can all enjoy.
What Do You Put Under Interlocking Brick?
We place compacted gravel or crushed stone under interlocking bricks for solid base preparation. This offers excellent drainage solutions. Adding geotextile fabric helps with weed prevention. Sealing techniques further enhance durability, ensuring our project lasts.
How Do You Install Interlocking Bricks?
First, we prepare the base with compacted gravel and sand. Next, we use interlock brick tools like rubber mallets to set the bricks in our chosen interlock brick patterns, ensuring a snug fit and seamless finish.
How Do You Maintain Interlocking Bricks?
We maintain interlocking bricks by sweeping regularly for weed prevention, using pressure washers as cleaning techniques, applying sealing options for protection, and ensuring joint sand maintenance to keep everything level and looking great.
Conclusion
At Guelph Concrete LTD, we’ve been perfecting the art of fixing interlocking bricks in Guelph, Ontario for over 15 years. Our detailed process begins by evaluating the damage and gathering the necessary tools. We then dive into the meticulous work of removal and leveling to ensure a flawless finish.
By compacting and sealing, we guarantee stability, and our sand sweeps into the joints seamlessly. Routine upkeep ensures that your masterpiece remains magnificent.
Trust us to maintain the charm and character of your interlocking bricks, keeping them beautiful and durable for years to come. Contact Guelph Concrete LTD today for a free estimate at 548-490-2074.
Let’s create something exceptional together!