At Guelph Concrete LTD, we’ve been crafting beautiful outdoor spaces in Guelph, Ontario for over 15 years. Allow us to guide you through building an interlocking brick patio that will enhance your home’s aesthetic and functionality.
First, our experienced team will help you choose the best stone options, focusing on both durability and design to suit your taste. Accurate measurement and meticulous planning are essential; we consider Guelph’s unique weather conditions and any necessary permits to ensure a smooth process.
We’ll begin by clearing and compacting the ground, followed by adding a reliable gravel base. Our selection of easy-to-maintain stones ensures a stable and level foundation, complete with edge restraints for added durability. As we lay the pavers, we meticulously pay attention to patterns and joint spacing to achieve a flawless look.
Proper drainage is crucial; thus, we ensure the surface slopes away from your house to prevent water accumulation. Finally, we seal the patio to protect it from the elements and offer advice on regular maintenance to keep it looking stunning for years to come.
Ready to transform your outdoor space? Contact Guelph Concrete LTD for a free estimate at 548-490-2074. Let us bring your vision to life with our expertise and commitment to quality!
Choosing Interlocking Stone Options
When choosing interlocking stone options for our patio, we’ll find a variety of customizable designs in numerous styles, shapes, sizes, and colors that suit our specific needs. Let’s explore the exciting possibilities.
Color selection is key to achieving the perfect aesthetic. We can choose from earthy tones like browns and grays or go bold with reds and blues. Texture options also add a tactile dimension, from smooth finishes to rugged, natural stone-like surfaces.
Pattern variety plays an essential role in the overall look of our patio. We can opt for classic herringbone, versatile basket weave, or intricate circular designs. Each pattern brings a unique flair, so it’s worth considering what suits our vision best.
Sizing considerations are just as important. Interlocking stones come in various dimensions, allowing us to mix and match for a more dynamic appearance or stick to uniform sizes for a sleek, cohesive look.
Assessing Your Project Scope
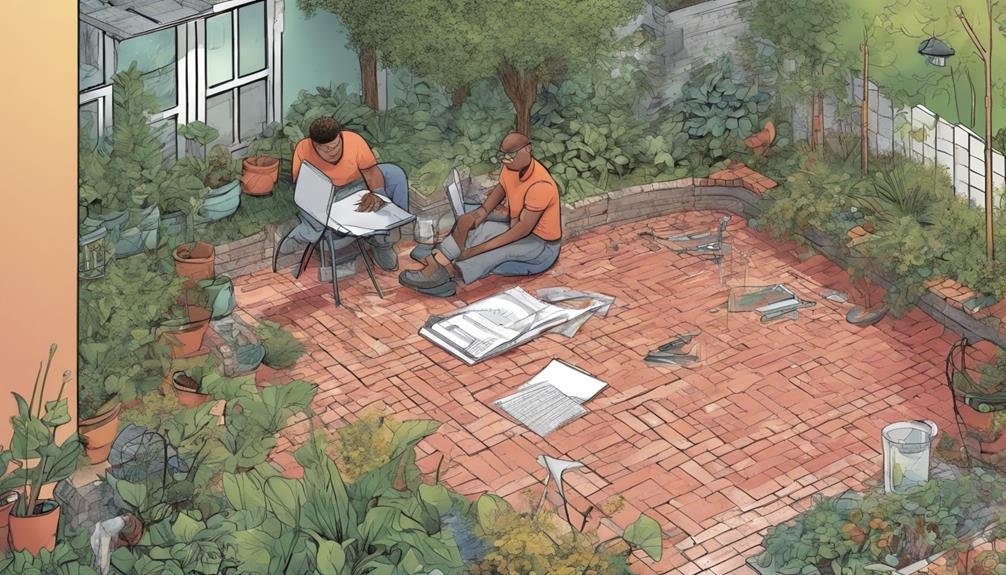
Let’s explore evaluating our project scope by determining the precise size, shape, and layout of our interlocking brick patio. First, we need to take accurate measurements. This will help us understand the exact dimensions we’re working with and make sure our patio fits perfectly within our space.
Budget planning is essential at this stage to make sure we can afford the materials and labor needed. We should also consider design consultation to get professional advice on the most effective and aesthetically pleasing layout. This can include selecting the right materials, colors, and patterns that complement our existing landscaping.
Weather considerations in Guelph, Ontario, can greatly impact our project. We need to plan for potential weather-related delays and choose materials that can withstand seasonal changes. A thorough site evaluation will help identify any issues like poor drainage or uneven ground that need addressing before we start laying bricks.
Permits might be necessary depending on local regulations, so it’s important to check with the local authorities.
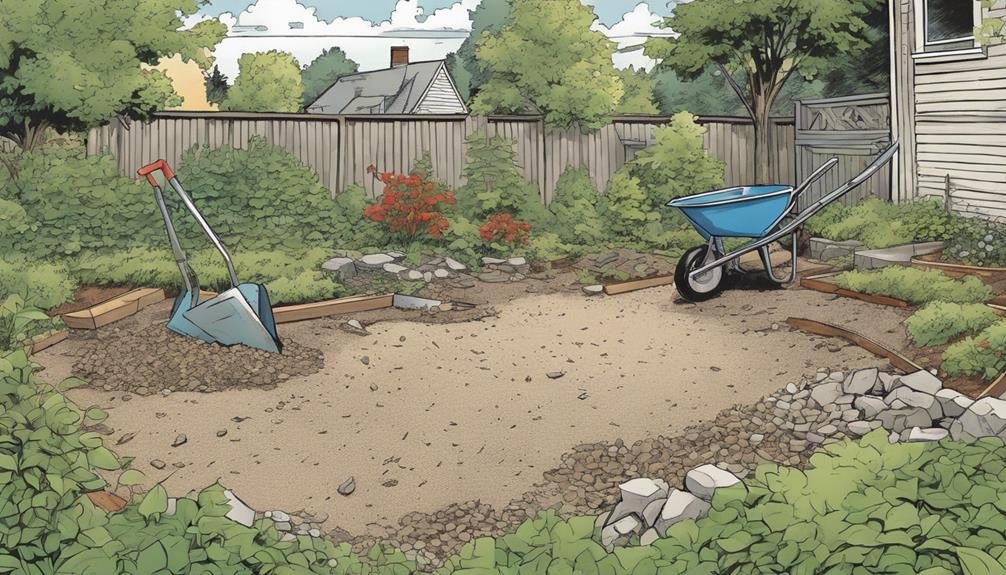
Preparing the Ground
Now that we’ve assessed our project scope, it’s time to roll up our sleeves and start preparing the ground for our interlocking brick patio. First, we’ll clear the area of any vegetation, rocks, or debris. A clean, level surface sets the stage for the entire project.
Next, we need to focus on soil compaction and leveling. Using a plate compactor, let’s compact the soil to make sure it remains stable and prevents settling over time. This step is vital for creating a durable patio foundation.
To tackle weed prevention and stabilization, we’ll install a geotextile fabric. This fabric not only prevents weeds from sprouting but also helps stabilize the base materials.
Now, let’s add a gravel base layer:
- Depth: Aim for 4-6 inches to guarantee proper drainage and support.
- Compaction: Compact the gravel layer using the plate compactor.
- Slope: Make sure the base slopes away from the house to prevent water accumulation.
Selecting Stones and Materials

How do we choose the perfect interlocking stones and materials to guarantee our patio not only looks stunning but also stands the test of time?
First, let’s prioritize material durability. Opting for stones made of concrete or cement guarantees longevity and resilience against Guelph’s weather conditions. We should also consider supplier recommendations to find reputable sources that offer quality products.
Next, let’s think about style choices. Our patio should reflect our personal taste, so selecting stones that come in various shapes, sizes, and color options is essential. Whether we prefer a classic, rustic look or a sleek, modern design, the right stones can bring our vision to life.
When it comes to functionality, ensuring proper drainage is vital. Choosing materials that allow water to flow through will prevent pooling and potential damage. It’s also wise to select stones that are easy to maintain and replace, which will save us time and money in the long run.
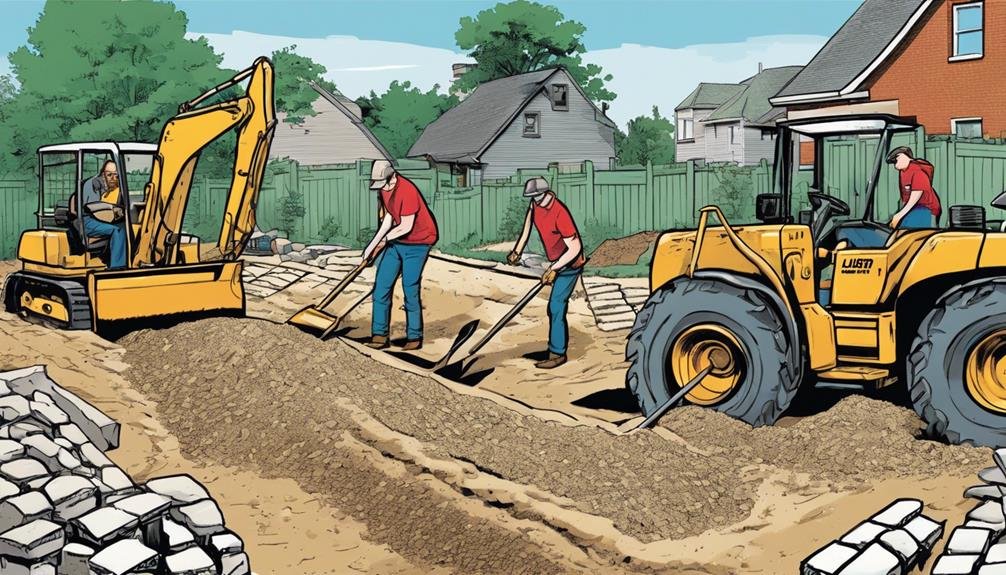
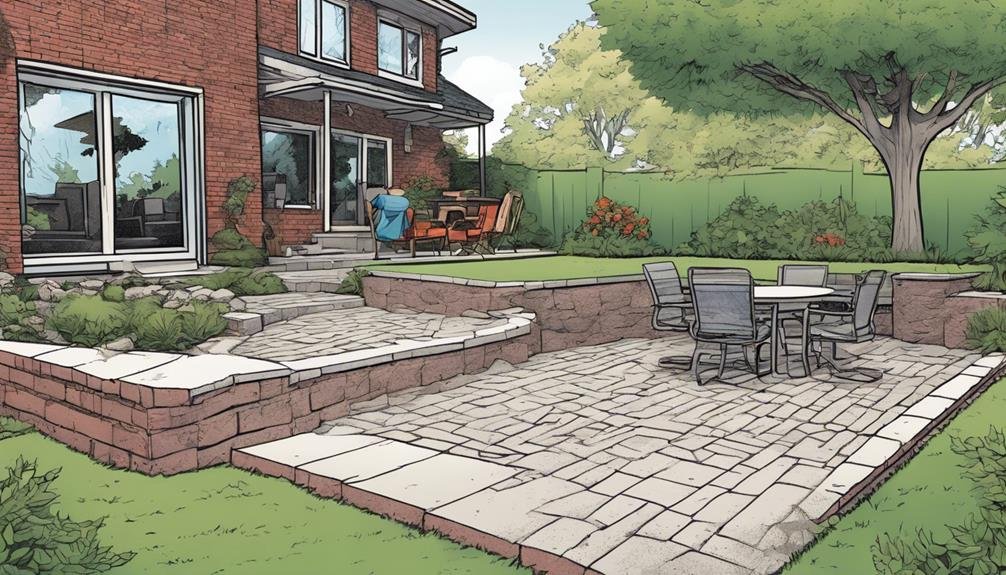
Setting Up the Base
Creating a solid foundation for our interlocking brick patio starts with excavating the area to a depth of 8-10 inches. This initial step is pivotal for guaranteeing the stability and longevity of our patio.
Once the area is excavated, we need to focus on soil compaction. Using a plate compactor, we’ll compress the soil to create a firm base that won’t shift over time.
Next, we’ll add a gravel layer to promote proper drainage and further stabilize the foundation. Here’s what we need to do:
- Spread a 4-6 inch layer of gravel: This aids with drainage and prevents our bricks from shifting.
- Compact the gravel: Use the plate compactor again to make sure the gravel layer is solid and level.
- Add a 1-2 inch layer of sand: This final layer helps even out the surface and makes it easier to lay the bricks evenly.
Don’t forget to install edge restraints along the perimeter. These will keep our bricks in place and prevent them from spreading outward over time.
Laying the Pavers
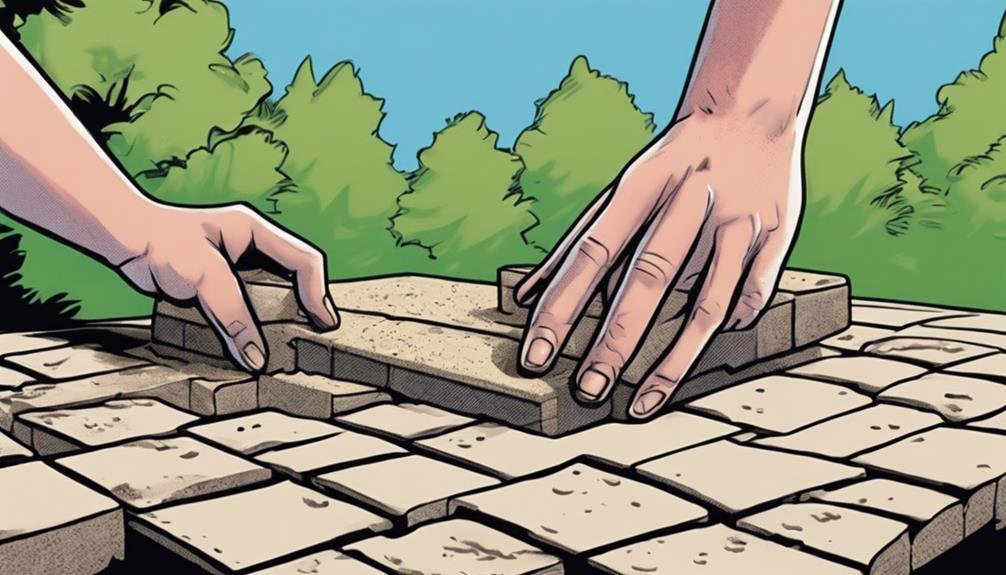
With our solid base prepared, we can start laying the interlocking pavers by setting the first brick at one corner and working our way out, making sure each piece fits snugly together. It’s important to choose paver patterns that not only fit the aesthetic we’re aiming for but also maximize stability.
Whether we go for a classic herringbone or a basket weave, consistency is key. Using a string line and level, we’ll keep our rows straight and aligned. This step guarantees that our patio surface remains uniform.
As we place each paver, we’ll pay close attention to joint spacing. Uniform gaps are essential for both appearance and function, helping to distribute weight and prevent shifting. Edge restraints are essential for keeping the pavers in place. By securing the outer perimeter, we prevent the bricks from moving over time.
Once all the pavers are laid, we’ll fill the joints with polymeric sand, which hardens to lock the bricks together and inhibits weed growth. Finally, we’ll compact the entire surface using a plate compactor. This step ensures a level installation and further stabilizes the interlocking bricks, giving us a beautiful and durable patio.
Ensuring Proper Drainage
Securing proper drainage is essential to prevent water pooling and potential damage to our interlocking brick patio. By addressing drainage early, we can maintain the structural integrity and longevity of our patio.
One of the most effective drainage solutions is to slope the patio surface away from the house. This simple landscaping technique guarantees that water flows away from the foundation, reducing the risk of water seepage and erosion.
If sloping isn’t feasible, installing a drainage system might be necessary. French drains or perforated pipes can effectively channel water away from the patio area. Consulting a professional landscaper or contractor in Guelph can help us assess our specific situation and recommend the best approach.
Here are some practical tips to prevent water pooling and secure proper drainage:
- Check the slope: Confirm the patio has a slight slope (about 1-2%) away from the house.
- Install drainage systems: Consider French drains or perforated pipes if natural sloping isn’t possible.
- Regular maintenance: Clear any debris from the drainage systems to sustain their effectiveness.
Finishing Touches
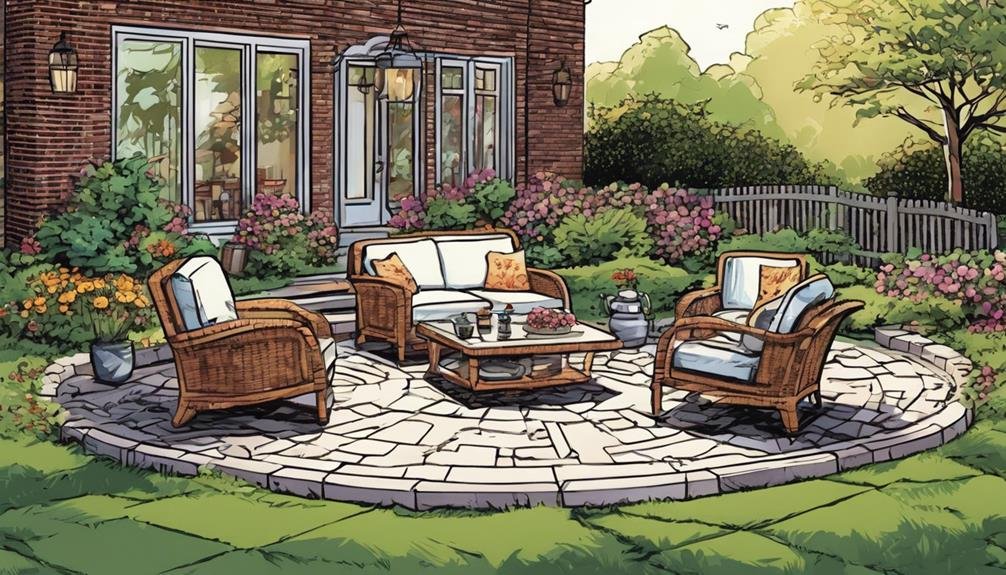
To give our interlocking brick patio a polished and durable finish, let’s start by applying a sealant to protect the bricks from stains and enhance their natural color. When choosing a sealant, we’ve various color options—glossy, matte, or even color-enhancing finishes that bring out the vibrancy of the bricks. We’ll carefully apply it using a roller or sprayer, ensuring even coverage and allowing it to dry thoroughly.
Next, let’s install edge restraints to keep the bricks in place and prevent shifting over time. These can be made of plastic, metal, or concrete, and they help maintain the patio’s structure.
Now, we need to use jointing sand techniques to fill the gaps between the bricks. We’ll pour the sand over the surface, sweep it into the joints, and then compact it with a plate compactor. This promotes stability and prevents weed growth.
For that final decorative touch, consider adding bordering stones or contrasting colored bricks around the patio’s edges. This adds a personalized look and frames our patio beautifully.
Maintenance Tips
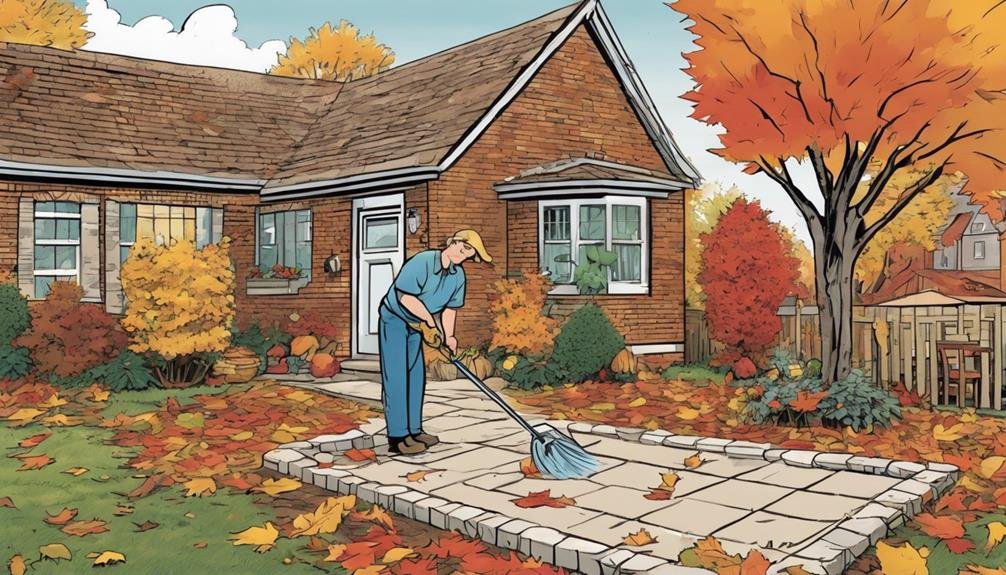
Maintaining our interlocking brick patio involves a few straightforward practices that keep it looking great and prolong its lifespan. First, regular cleaning is important. By sweeping away dirt and debris, we prevent buildup that can cause discoloration and wear. For tougher stains and grime, a pressure washer on a low setting does wonders. Remember, harsh chemicals or de-icing salts can damage bricks and harm surrounding plants, so let’s avoid those.
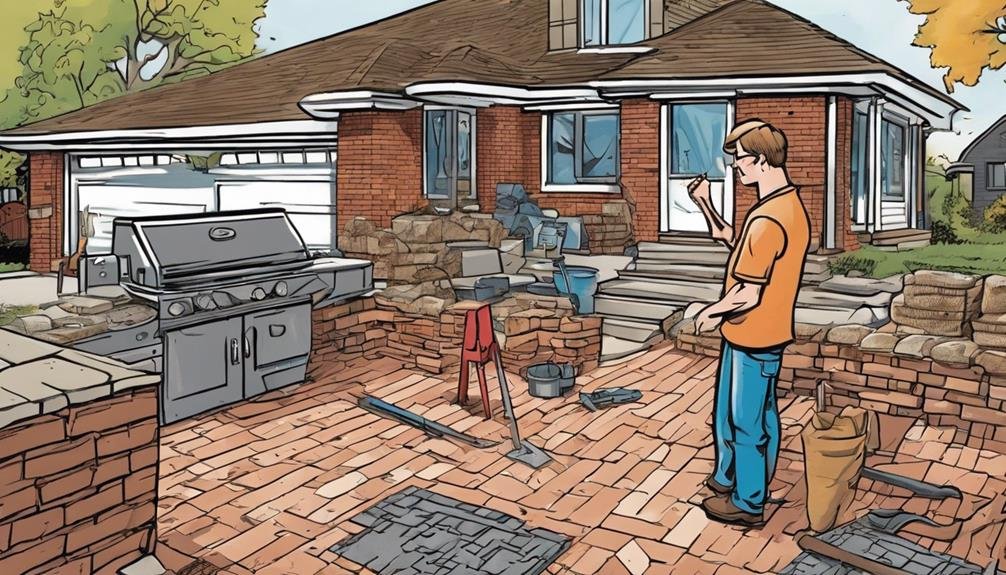
Applying a high-quality sealer every 2-3 years provides significant sealing benefits. It protects our patio from water damage and guarantees the colors stay vibrant. This step is essential for the longevity and appearance of the bricks.
Equally significant is preventative maintenance. By inspecting the patio periodically, we can catch and fix any loose or damaged bricks before they become larger issues. Quick action on repairing damages maintains the structural integrity of our patio and prevents safety hazards.
Here are some key tips to keep in mind:
- Regular sweeping and low-pressure washing for effective cleaning techniques.
- Applying a sealer every few years for protection against the elements.
- Promptly replacing any loose or damaged bricks to ensure longevity.
Warranty and Support
We can confidently depend on Techo-Bloc’s transferable lifetime warranty for structural strength to ensure our patio stands the test of time. This warranty guarantees that our investment remains safe, whether for residential or commercial use, providing peace of mind that our patio will last. If any issues arise, Techo-Bloc’s dedicated customer service team is readily available to help with warranty redemption and product support.
For those considering Permacon products, it’s worth mentioning that their warranty covers structural strength for a shorter period of 50 days. Both manufacturers offer detailed installation and maintenance guidelines to maintain our warranty coverage, so following these instructions is essential.
Here’s a brief comparison of the warranty features:
| Feature | Techo-Bloc | Permacon |
|---|---|---|
| Warranty Duration | Lifetime | 50 Days |
| Transferable | Yes | No |
| Structural Integrity | Covered | Covered |
| Installation Guidelines | Provided | Provided |
| Customer Service | Readily Available | Available |
Frequently Asked Questions
How to Build an Interlocking Brick Patio?
Let’s start by selecting interlocking bricks for our patio design. We’ll excavate, guarantee drainage, and compact the base. After laying bricks, compact them again, add edge restraints, and fill joints with polymeric sand. For maintenance, sweep regularly.
What Do You Put Under an Interlocking Brick?
We prepare the base by layering geotextile fabric, spreading a gravel base for stability and drainage, and topping it with sand for leveling. Proper compaction guarantees our patio’s bricks stay put, creating a lasting, welcoming space.
What Is the Best Stone for Interlocking?
We believe the best stone for interlocking is concrete or cement. These stones offer superior durability, lower maintenance costs, and various color options. They’re resilient, cost-effective, and perfect for creating long-lasting, beautiful patios.
How Long Does It Take to Install Interlocking Pavers?
Time management is essential for the installation process. Typically, it takes 3-7 days, factoring in labor costs and the project timeline. Our experience guarantees efficiency and quality, creating a stunning, stable patio with lasting appeal.
Conclusion
At Guelph Concrete LTD, we’ve perfected the process of crafting stunning interlocking brick patios right here in Guelph, Ontario. With over 15 years of experience, we know that choosing the right stones, preparing the ground meticulously, and ensuring proper drainage are the keys to laying a solid foundation.
Now, as we add those finishing touches, we invite you to embrace the maintenance that will keep your patio pristine. Think of your patio as a canvas; with every detail, we’re painting a masterpiece for you. With a bit of care, it will be a lasting sanctuary for countless memories.
Ready to transform your outdoor space? Contact Guelph Concrete LTD for a free estimate today. Call us at 548-490-2074.
Happy building!